Integrate into your app
Adding ParityDeals to your app is simple. You can:- Show a banner based on the user’s location
- Directly update the price
Managing Promotions
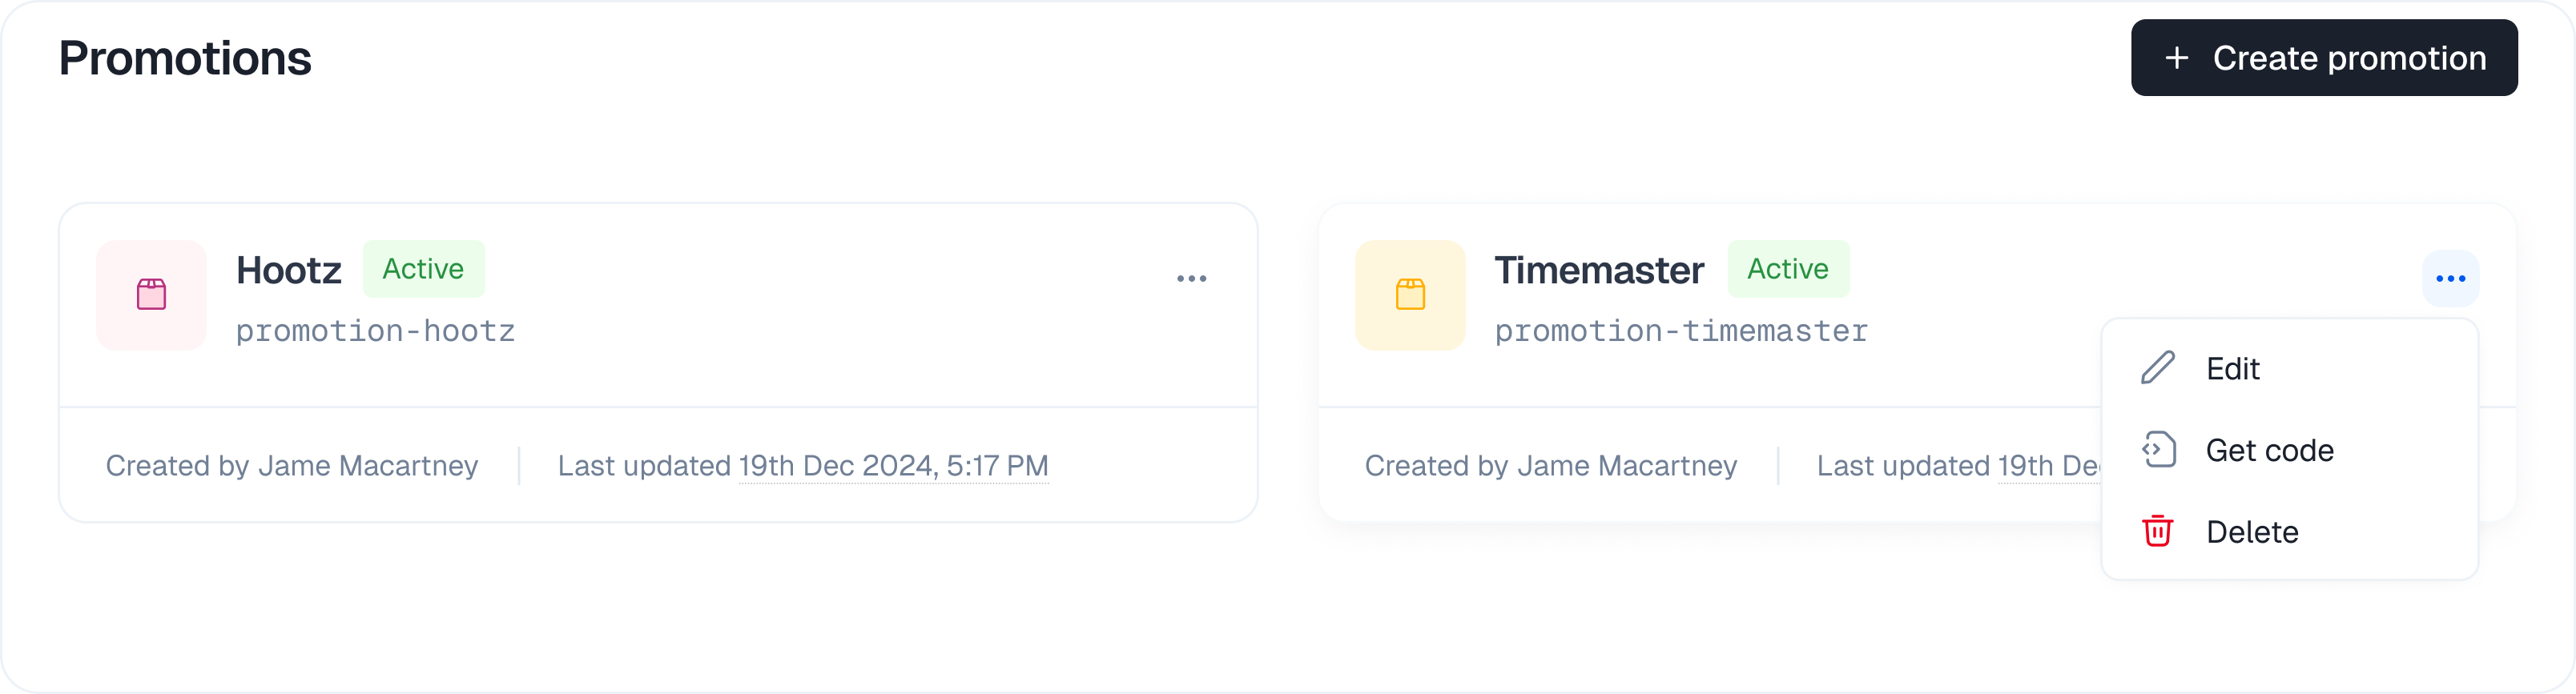
You can edit a promotion at any time after it has been created.- Navigate to the Promotions list page.
- Click the three-dot menu on the promotion you wish to edit and select the “Edit” option from the dropdown. (Alternatively, you can navigate to the promotion’s detail page and find an “Edit” option there).
- This action takes you back into the promotion editing flow where you update the details.
- Click “Update promo” (or a similar button) to save your changes. Your updates will be reflected live for your users.
Best Practices
- Always test your promotion setup on a staging environment before going live.
- Use clear, descriptive names for each promotion and discount rule.
- Regularly review and update your discount percentages to match market conditions.
- Use country overrides sparingly and only when necessary.
- Never expose secret identifiers in public code.
Troubleshooting
Discount not applied?- Check your product selection and country rules.
- Ensure the user is eligible for a discount based on your rules.
- For integrated platforms, verify your payment provider connection is active.
- Ensure your domain is whitelisted in the promotion settings.
- Make sure your API integration uses the correct identifier and parameters.